Infrastructure Optimization: Deploying Redis Object Cache for WordPress/WooCommerce
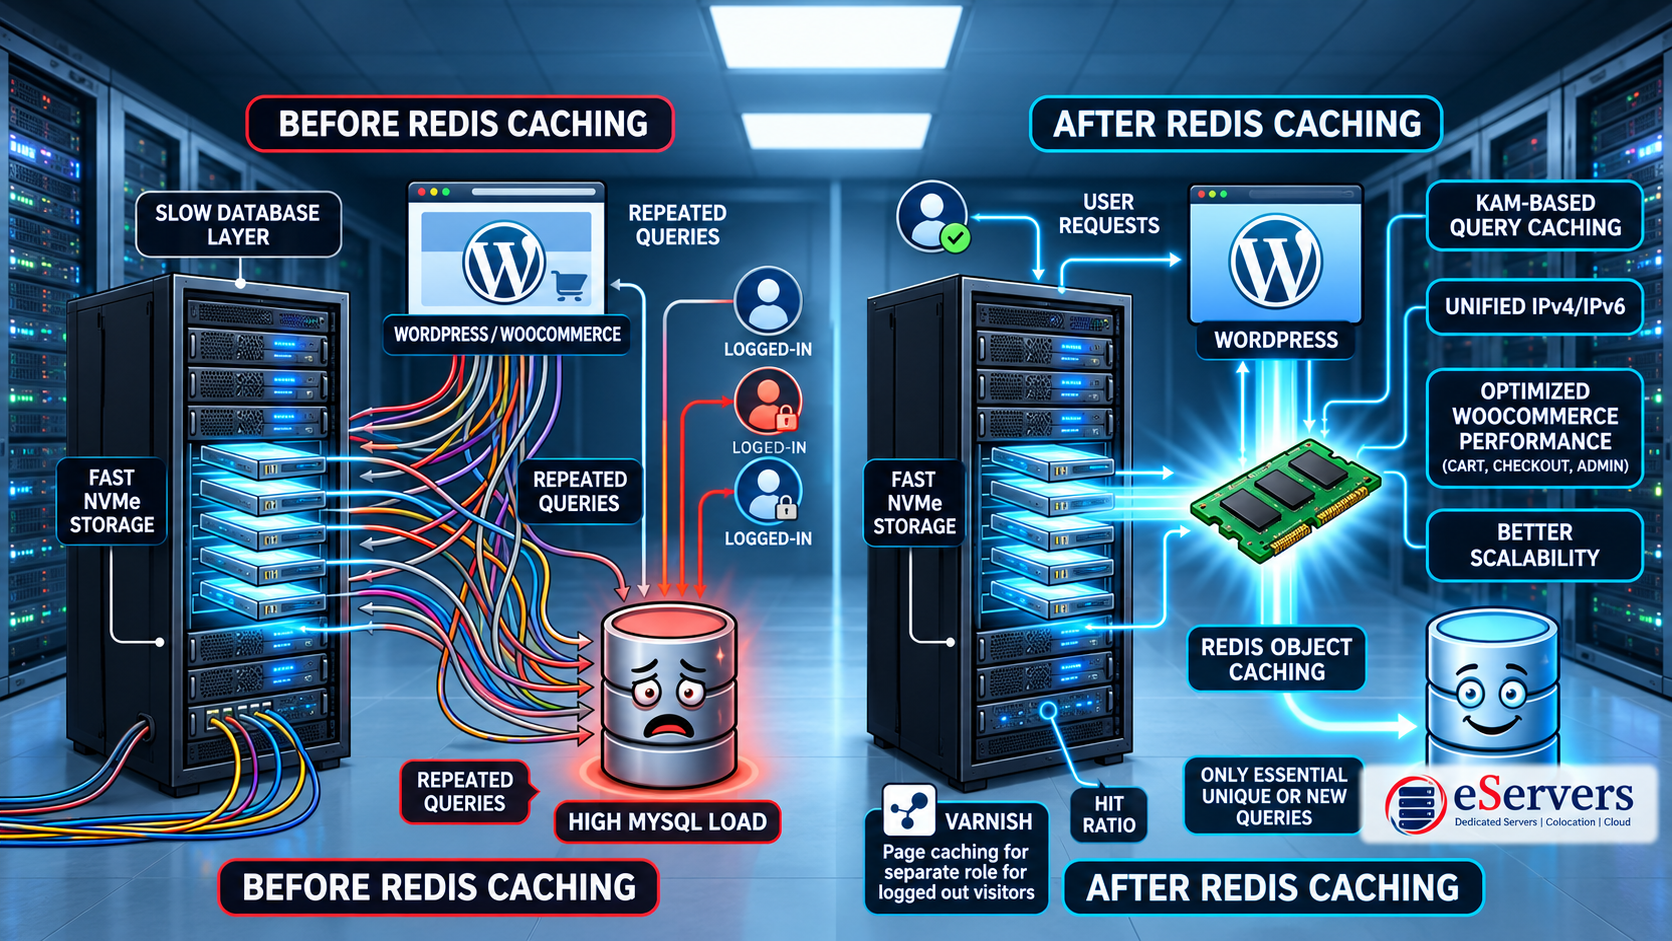
Fast storage speeds up read/write I/O at the disk layer, but WordPress is inherently a database-heavy application. A single logged-in customer browsing a WooCommerce category can trigger dozens of redundant MySQL queries. Because dynamic endpoints like shopping carts, checkouts, and admin dashboards bypass standard HTML page caching, the database quickly becomes a severe bottleneck.
Redis object caching mitigates this by sitting between WordPress and MySQL, storing database query results in RAM. Instead of re-querying the database on every page load, PHP reads the cached result in microseconds.
Here is how to deploy and configure a production-ready Redis object cache on Ubuntu 22.04/24.04 or Debian 11/12.
Step 1: Daemon Installation
Update your package lists and install the Redis server:
sudo apt update
sudo apt install redis-server -y
Verify the daemon is responsive:
Bash sudo systemctl status redis-server redis-cli ping (A healthy install responds with PONG).
Step 2: Eviction Policy and Memory Tuning (Crucial) By default, Redis operates with no memory limit and a noeviction policy, meaning it will refuse new writes once RAM is exhausted. For a cache workload, this will break your site.
Edit /etc/redis/redis.conf:
Plaintext maxmemory 512mb maxmemory-policy allkeys-lru bind 127.0.0.1 -::1 maxmemory: Adjust based on available RAM. WooCommerce heavily relies on transients and typically needs 512MB–1GB.
maxmemory-policy allkeys-lru: Ensures the least-recently-used keys are evicted to make room for new data instead of rejecting writes.
bind 127.0.0.1: Secures the instance to localhost.
Restart the daemon to apply changes:
Bash sudo systemctl restart redis-server Step 3: PHP Integration WordPress needs a PHP client to communicate with Redis. Install the PhpRedis (PECL) extension, which is significantly faster than PHP-based clients:
Bash sudo apt install php-redis -y Restart your specific PHP-FPM pool (adjust the version as needed):
Bash sudo systemctl restart php8.1-fpm Confirm the module is loaded:
Bash php -m | grep redis Step 4: Application Configuration Add the connection constants to your wp-config.php file, placing them above the /* That's all, stop editing! */ line:
PHP define( 'WP_REDIS_HOST', '127.0.0.1' ); define( 'WP_REDIS_PORT', 6379 ); define( 'WP_REDIS_DATABASE', 0 ); define( 'WP_CACHE', true ); define( 'WP_REDIS_PREFIX', 'yourstore_' ); Note: WP_REDIS_PREFIX is critical if you are running multiple WordPress installs on the same server to prevent catastrophic cache key collisions.
Next, install the Redis Object Cache plugin (by Till Krüss) and activate the drop-in via WP-CLI:
Bash wp plugin install redis-cache --activate wp redis enable Step 5: Verification Enabling a plugin doesn't guarantee real performance gains. Confirm the cache is actively serving requests by checking the hit ratio via the CLI:
Bash redis-cli info stats | grep keyspace You should see keyspace_hits climbing rapidly relative to keyspace_misses as you browse the site and the cache warms up.